* On your first PCB Assembly order!
* Up to $300 discount
 C - A L L E Y
 Home | Events | PCB | About Us | News | Contact Us
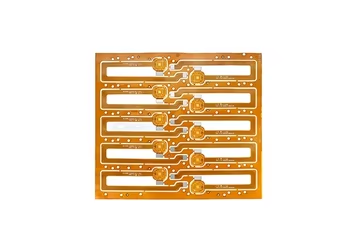
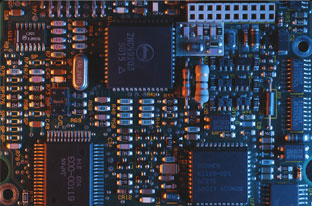
A printed circuit board may seem simple, but it is the result of a sophisticated manufacturing sequence that transforms basic materials into a precision electronic foundation. This article breaks down the key steps in the PCB fabrication process.
1. Raw Material Preparation
The core materials of a PCB include the substrate (typically FR-4, a glass-reinforced epoxy laminate), copper foil for conductive traces, and prepreg (pre-impregnated dielectric layers) for multilayer bonding. Each material is inspected for thickness, purity, and uniformity before production begins.
2. Inner Layer Circuit Formation
For multilayer PCBs, the process starts with the inner layers. The circuit pattern is transferred onto copper-clad laminate using photolithography:
A photoresist is applied and exposed to UV light through a phototool.
The unexposed resist is removed (developed), and the unwanted copper is etched away.
The resulting inner layer circuits are electrically tested for opens or shorts.
3. Lamination
Inner layers, prepreg, and outer copper foil are stacked and pressed under high temperature and pressure. The prepreg resin flows and cures, bonding the layers into a solid multilayer board. Controlled pressure and temperature are critical to avoid voids or delamination.
4. Drilling and Plating
Mechanical or laser drilling creates holes for through-hole components and layer interconnections. These holes are then metallized using electrodes copper deposition to form conductive vias (PTHs), enabling electrical connections between layers.
5. Outer Layer Imaging and Plating
The outer layers undergo a similar imaging process as the inner layers: photoresist application, exposure, development, and pattern plating. Additional copper and tin are electroplated onto the traces and pads; the tin later serves as an etch resist.
6. Etching and Strip
The photoresist is removed, and the exposed copper (areas not protected by tin) is etched away, leaving the final circuit pattern. The tin layer is then stripped, revealing the clean copper circuitry.
7. Solder Mask and Surface Finish
A solder mask (usually green, blue, or black) is applied over the entire board except the solderable pads. This layer prevents oxidation and solder bridging. A surface finish, such as HASL, ENIG, OSP, or immersion tin—is applied to protect the exposed copper and ensure solderability.
8. Silkscreen and Electrical Test
A silkscreen layer is printed to label component locations, identifiers, and polarity marks. Finally, each PCB undergoes electrical testing (e.g., flying probe or fixture-based test) to verify connectivity and functional performance.
Conclusion
The PCB manufacturing process is a precise sequence involving material science, chemical processing, and advanced machinery—all requiring strict process control to ensure reliability and performance.
At KingshengPCBA, we combine advanced fabrication technology with rigorous quality checks to deliver high-quality PCBs for a wide range of applications.
Contact us for manufacturing support you can trust—from prototype to production.
Please send Email to kspcba@c-alley.com or call us through +86 13828766801 Or submit your inquiry by online form. Please fill out below form and attach your manufacturing files( PCB Gerber files and BOM List) if need quotation. We will contact you shortly.
 +86 13828766801
 kspcba@c-alley.com
 https://www.kingshengpcba.com/
 2/F, Building 6, Tangtou 3rd Industrial Zone, Tangtou Community, Shiyan Town, Baoan District, Shenzhen, China, 518108
We would also like to thank our customers for their trust and support. The company's outstanding achievements are mainly due to the loyalty of our customers, which also encourages and spurs our company to forge ahead.


